

Videolla käsitellään hyvin kiertohengitys-aihe sekä säkkipillin toimintaperiaate. Kiertohengitys tarkoittaa, että kykenee puhaltamaan ilmaa jatkuvasti ulos suustaan, ja hyödyntämään tätä esimerkiksi puhallinsoittimen soittamiseen ilman että ääni katkeaa hengenvetoon. Kiertohengitys on melko helppo oppia kun siihen laittaa vähän aikaa – ja sen voi opetella kuka vaan. Lopussa ohjeet.
Säkkipillissä on ilmatasku, johon puhalletaan ilmaa. Ilmataskusta lähtee yksi tai useampi huilu, jonka lävitse saadaan kulkemaan ilmaa puristamalla taskua. Taskua täytetään puhaltelemalla siihen suukappaleesta lisää ilmaa täytteeksi.
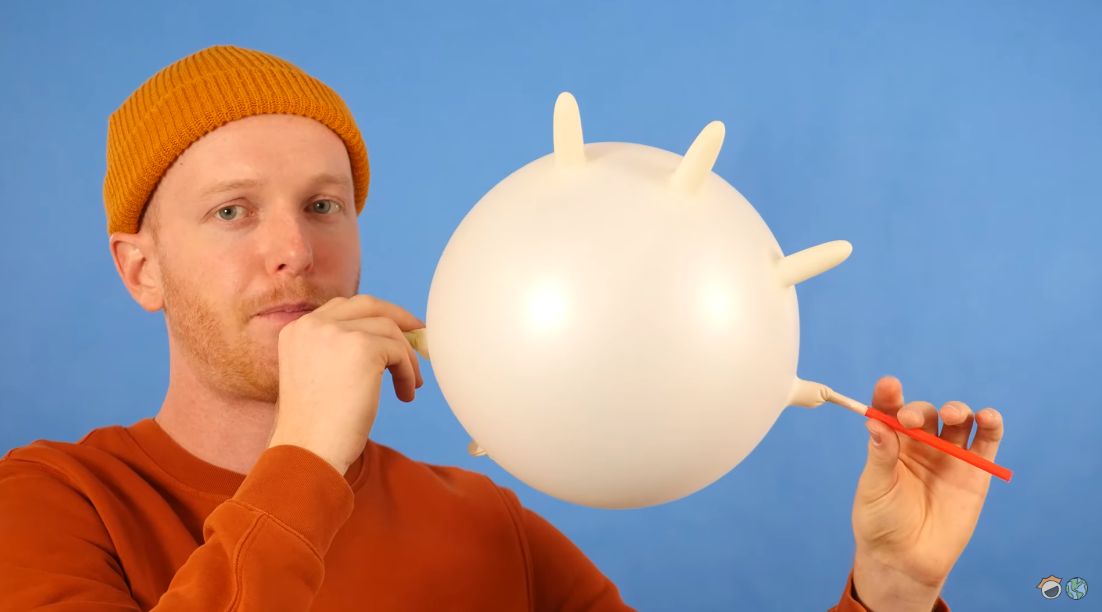
Oheisella videolla kumihanskikkaasta tehdään säkkipilli – The World’s Greatest Latex Glove Bagpipes || DIY:
Säkkipilli toimii kuten kiertohengitys, jossa säkkinä toimii suuontelo. Nimittäin suussa pidetään koko ajan ilmaa, jota puhalletaan ulos. Suuta täytetään hengittämällä normaalisti jaksottain suun kautta. Mielikuvasta poiketen tilanne ei siis ole sellainen, että ilma jotenkin luonnottomasti virtaisi jatkuvasti hengityselimistön läpi – ainoastaan jaksottaisen hengityksen avulla päästetään ilmaa suuonteloon sekä säännöstellään sen ulostuloa poskilihaksilla.
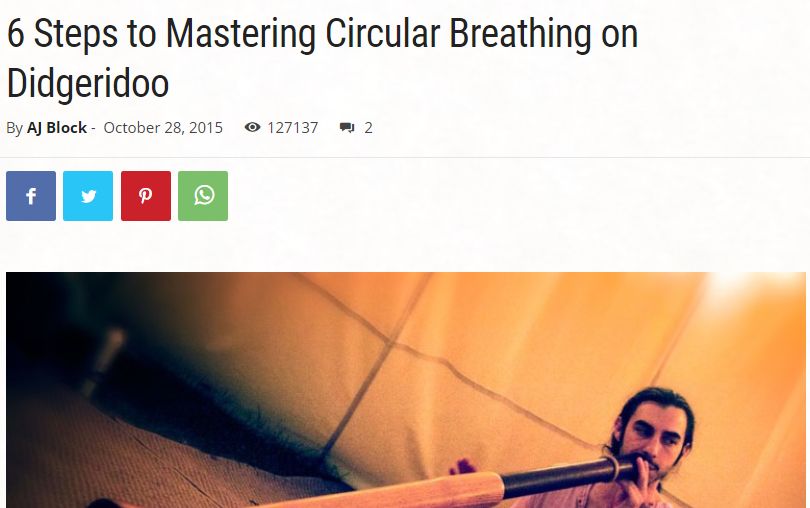
Kiertohengitykseen on helpot, pragmaattiset harjoitteluohjeet (mm. Didge Project – 6 Steps to Mastering Circular Breathing on Didgeridoo).
Aloita tekemällä kohdan 1 harjoitusta. Kun se on helppoa, jatka kohtaan 2, jne.
1 – Breathe through your nose with inflated cheeks
Fill your cheeks with air so they are puffed out and hold your lips tight so no air escapes. Inhale and exhale naturally through the nose, keeping the cheeks filled with air the whole time. Inhale slowly. Exhale slowly. This first step serves to establish independence between your breath and the air in stored in your mouth reservoir.
2 – Spit water
Fill your mouth with water so that your cheeks are bulging out. Gently squeeze your cheeks and bring your jaw up as if biting so the water streams out. Maintaining a constant stream, inhale and exhale naturally through your nose. Your goal is to have an uninterrupted flow of water coming out of your mouth as you breathe. This exercise can be practiced each time you step into the shower.
3 – Inhale through the nose and exhale through the mouth with inflated cheeks
Start with your cheeks inflated and mouth closed. Inhale through the nose, keeping your lips sealed and your cheeks inflated. Then exhale through your mouth, keeping your cheeks just as full. On your next inhale, seal your lips again. Continue with this cycle maintaining inflated cheeks throughout.
4 – Inhale through the nose while squeezing air out of your mouth
This is the first stage in what will become a full breath cycle. Start with your cheeks inflated. At the same moment you begin to inhale through the nose, squeeze the air out of your mouth by bringing your jaw up and tightening your cheek muscles. You should strive for a strong but quiet inhale through the nose. With some practice you should be able to synchronize the flow of air coming in your nose and the flow of air going out your mouth. Practice this until you get good at it.
5 – Add the “HA”
Start with exercise 4. After you simultaneously inhale through the nose and squeeze air out your mouth, make a strong exhale from the lungs by saying “HA”. This out-breath should come from deep in your core so be sure that your diaphram is engaged and abdominal muscles are tightening to push the air out. This exhale should also push air back into your cheeks.
6 – Find the rhythm
Once you have combined steps 4 and 5, repeat them over and over again until you start to feel the groove. Make the repetition as musical as you can. The goal is to get air constantly coming out of your mouth with no gap between the inhale and exhale. With practice you will be able to blend the air flow from the two sources (mouth and lungs) into one rhythmic cycle, the circular breath.
After you have mastered step 6 and completed the cycle, you’ve done it! It is time to pick up a didge and put your new circular breathing skills in action.
Tuossahan on nyt paljon ohjeita, mutta jokainen niistä on helppo toteuttaa, kun menee järjestyksessä: Eli aloittaa kohdasta yksi, kun se sujuu, siirtyy kohtaan kaksi jne. Itsellä oli tuo vuoden jääkaapin ovessa ja aina välillä tein harjoituksia. Pikkuhiljaa sitä oppi huomaamatta kiertohengityksen. Tätä hengitystä käytetään usein didgredidoon soittamiseen, mutta se käy mille tahansa puhallinsoittimella.
Mainittakoon, että kun tekniikka on ensi kertaa hallussa, sitä täytyy vielä treenata ja hienosäätää mitä tahansa yksittäistä soitinta varten. Mutta sitä voi miettiä, että esimerkiksi konservatoriossa trumpettiryhmässä voi saada isot rispektit vetämällä yhtä nuottia 4 minuuttia putkeen. Siihen pystyy kuka vaan kun treenaa em. ohjeilla.
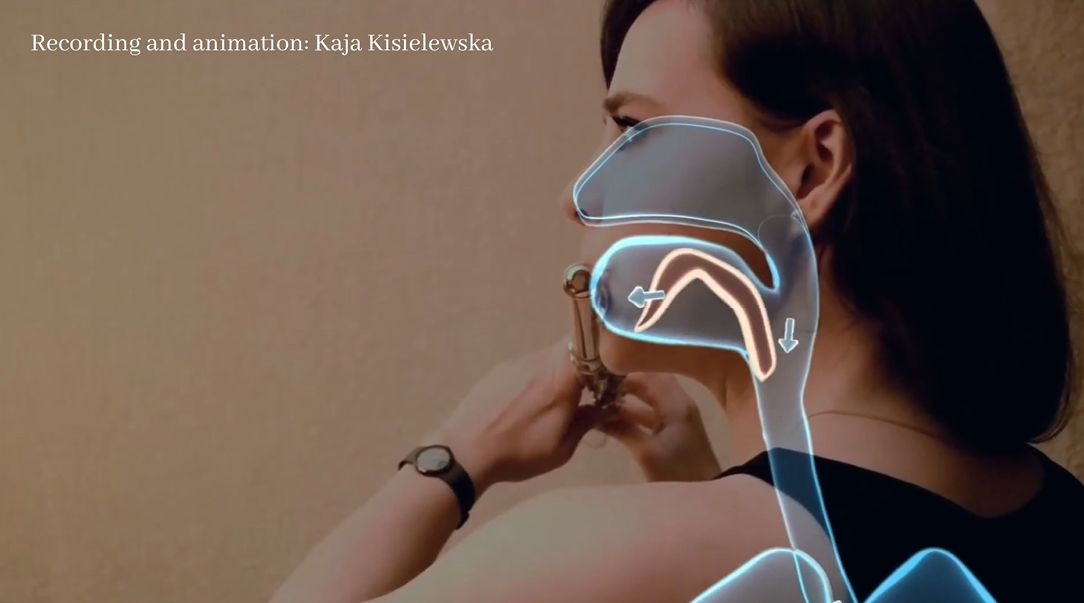
Lecture I – what is circular breathing?
Lähteet: Youtube – World By Charlie – Charlie Engelman, The Awesomer – Latex Glove Bagpipes